The 8-Step Beginner’s Guide to Cold Immersion
Cold immersion, a many centuries old practice, has gained a lot of attention in recent years. As people begin to “biohack” and navigate evolutionary shortcuts in our physiology they no doubt stumble onto the power of exposing our bodies to extreme cold. This interest has been perpetuated by programs like the Wif Hof Method, XPT and RUNGA, in collaboration with the testimony of wellness experts like Ben Greenfield, Dr. Jack Kruze, Dr. Rhonda Patrick, and others.

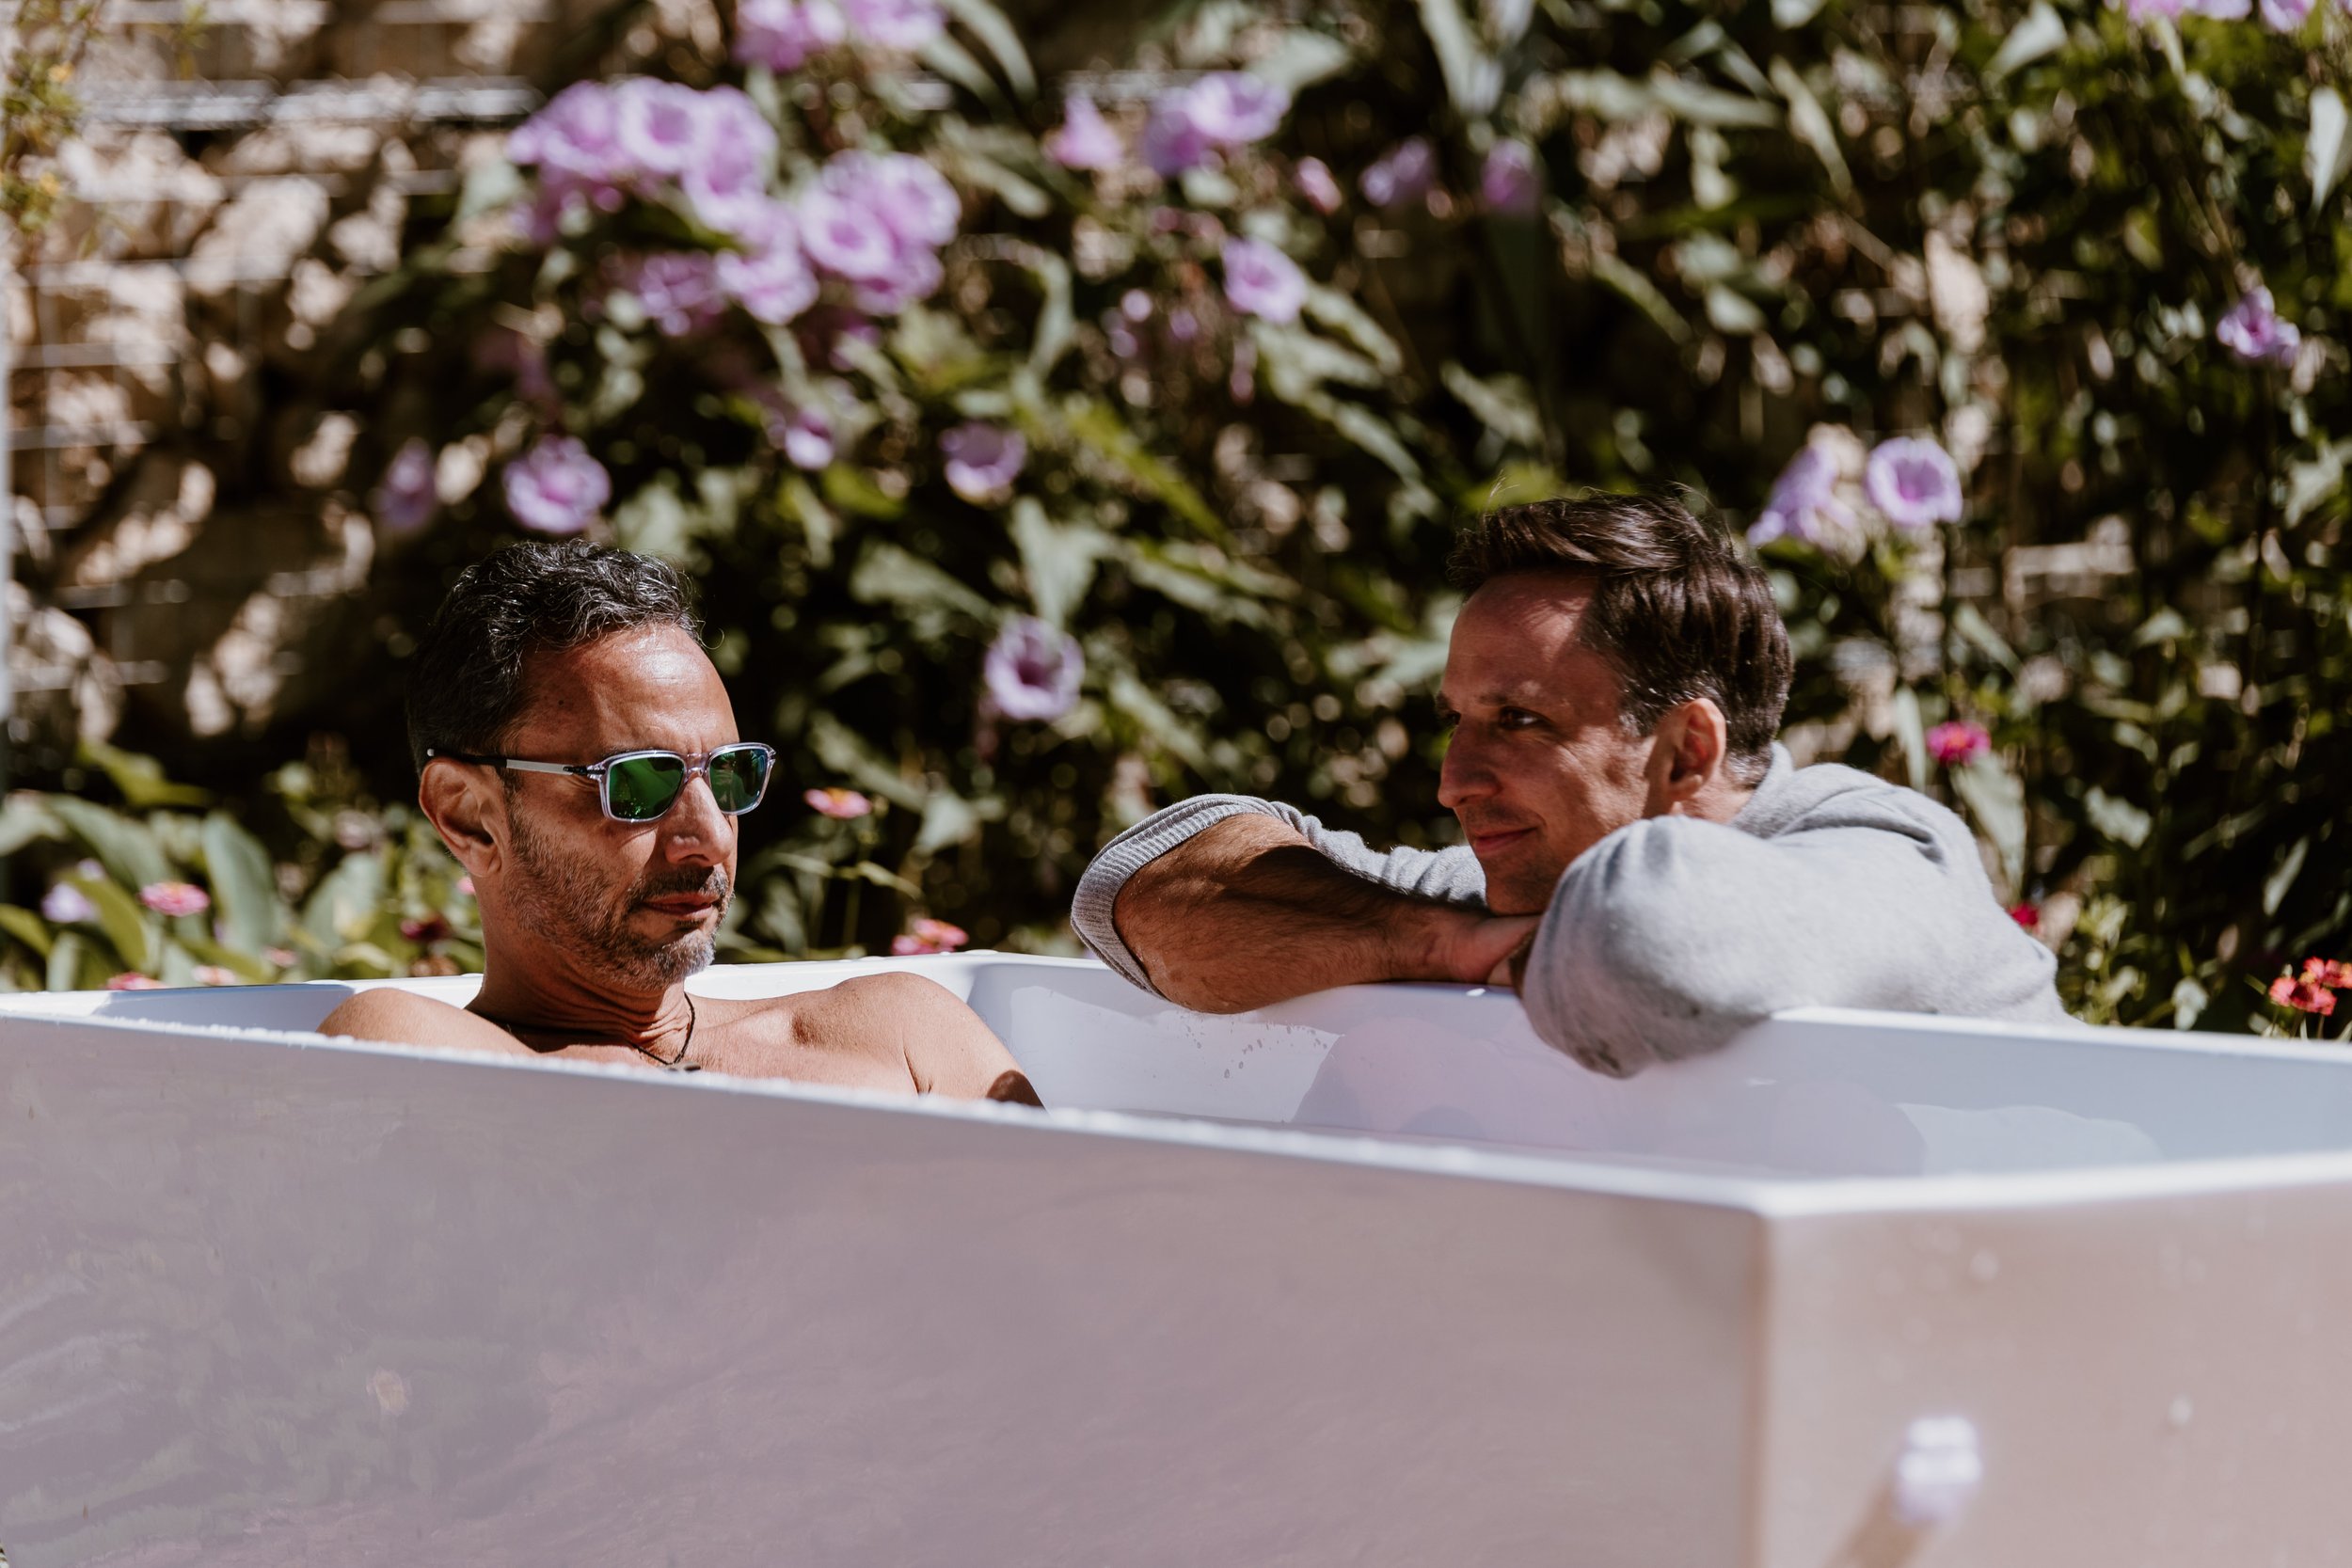
Image by Tammy Horton Photography at RUNGA.
If you’re reading this article, chances are that you too may be finding it hard to resist the the cold, especially when you consider the benefits. According to experts, these include:
Lowering body fat
Increasing hormone levels
Improving sexual performance and fertility
Lowering blood sugar
Cutting food cravings
Improving adrenal function
Fixing thyroid issues
Enhancing immune function
Improving sleep quality
Increasing pain tolerance
Reducing inflammation
Epic social media photos (OK. That one was mine.)
Despite ample rewards, when it comes time to taking the plunge, folks tend to be consumed with more questions than answers. For starters:
Where, when and how do I start?
How do I quell my fears of hypothermia, frostbite, and shock?
What equipment is best and how long do I need to really stay in for to get all the benefits?
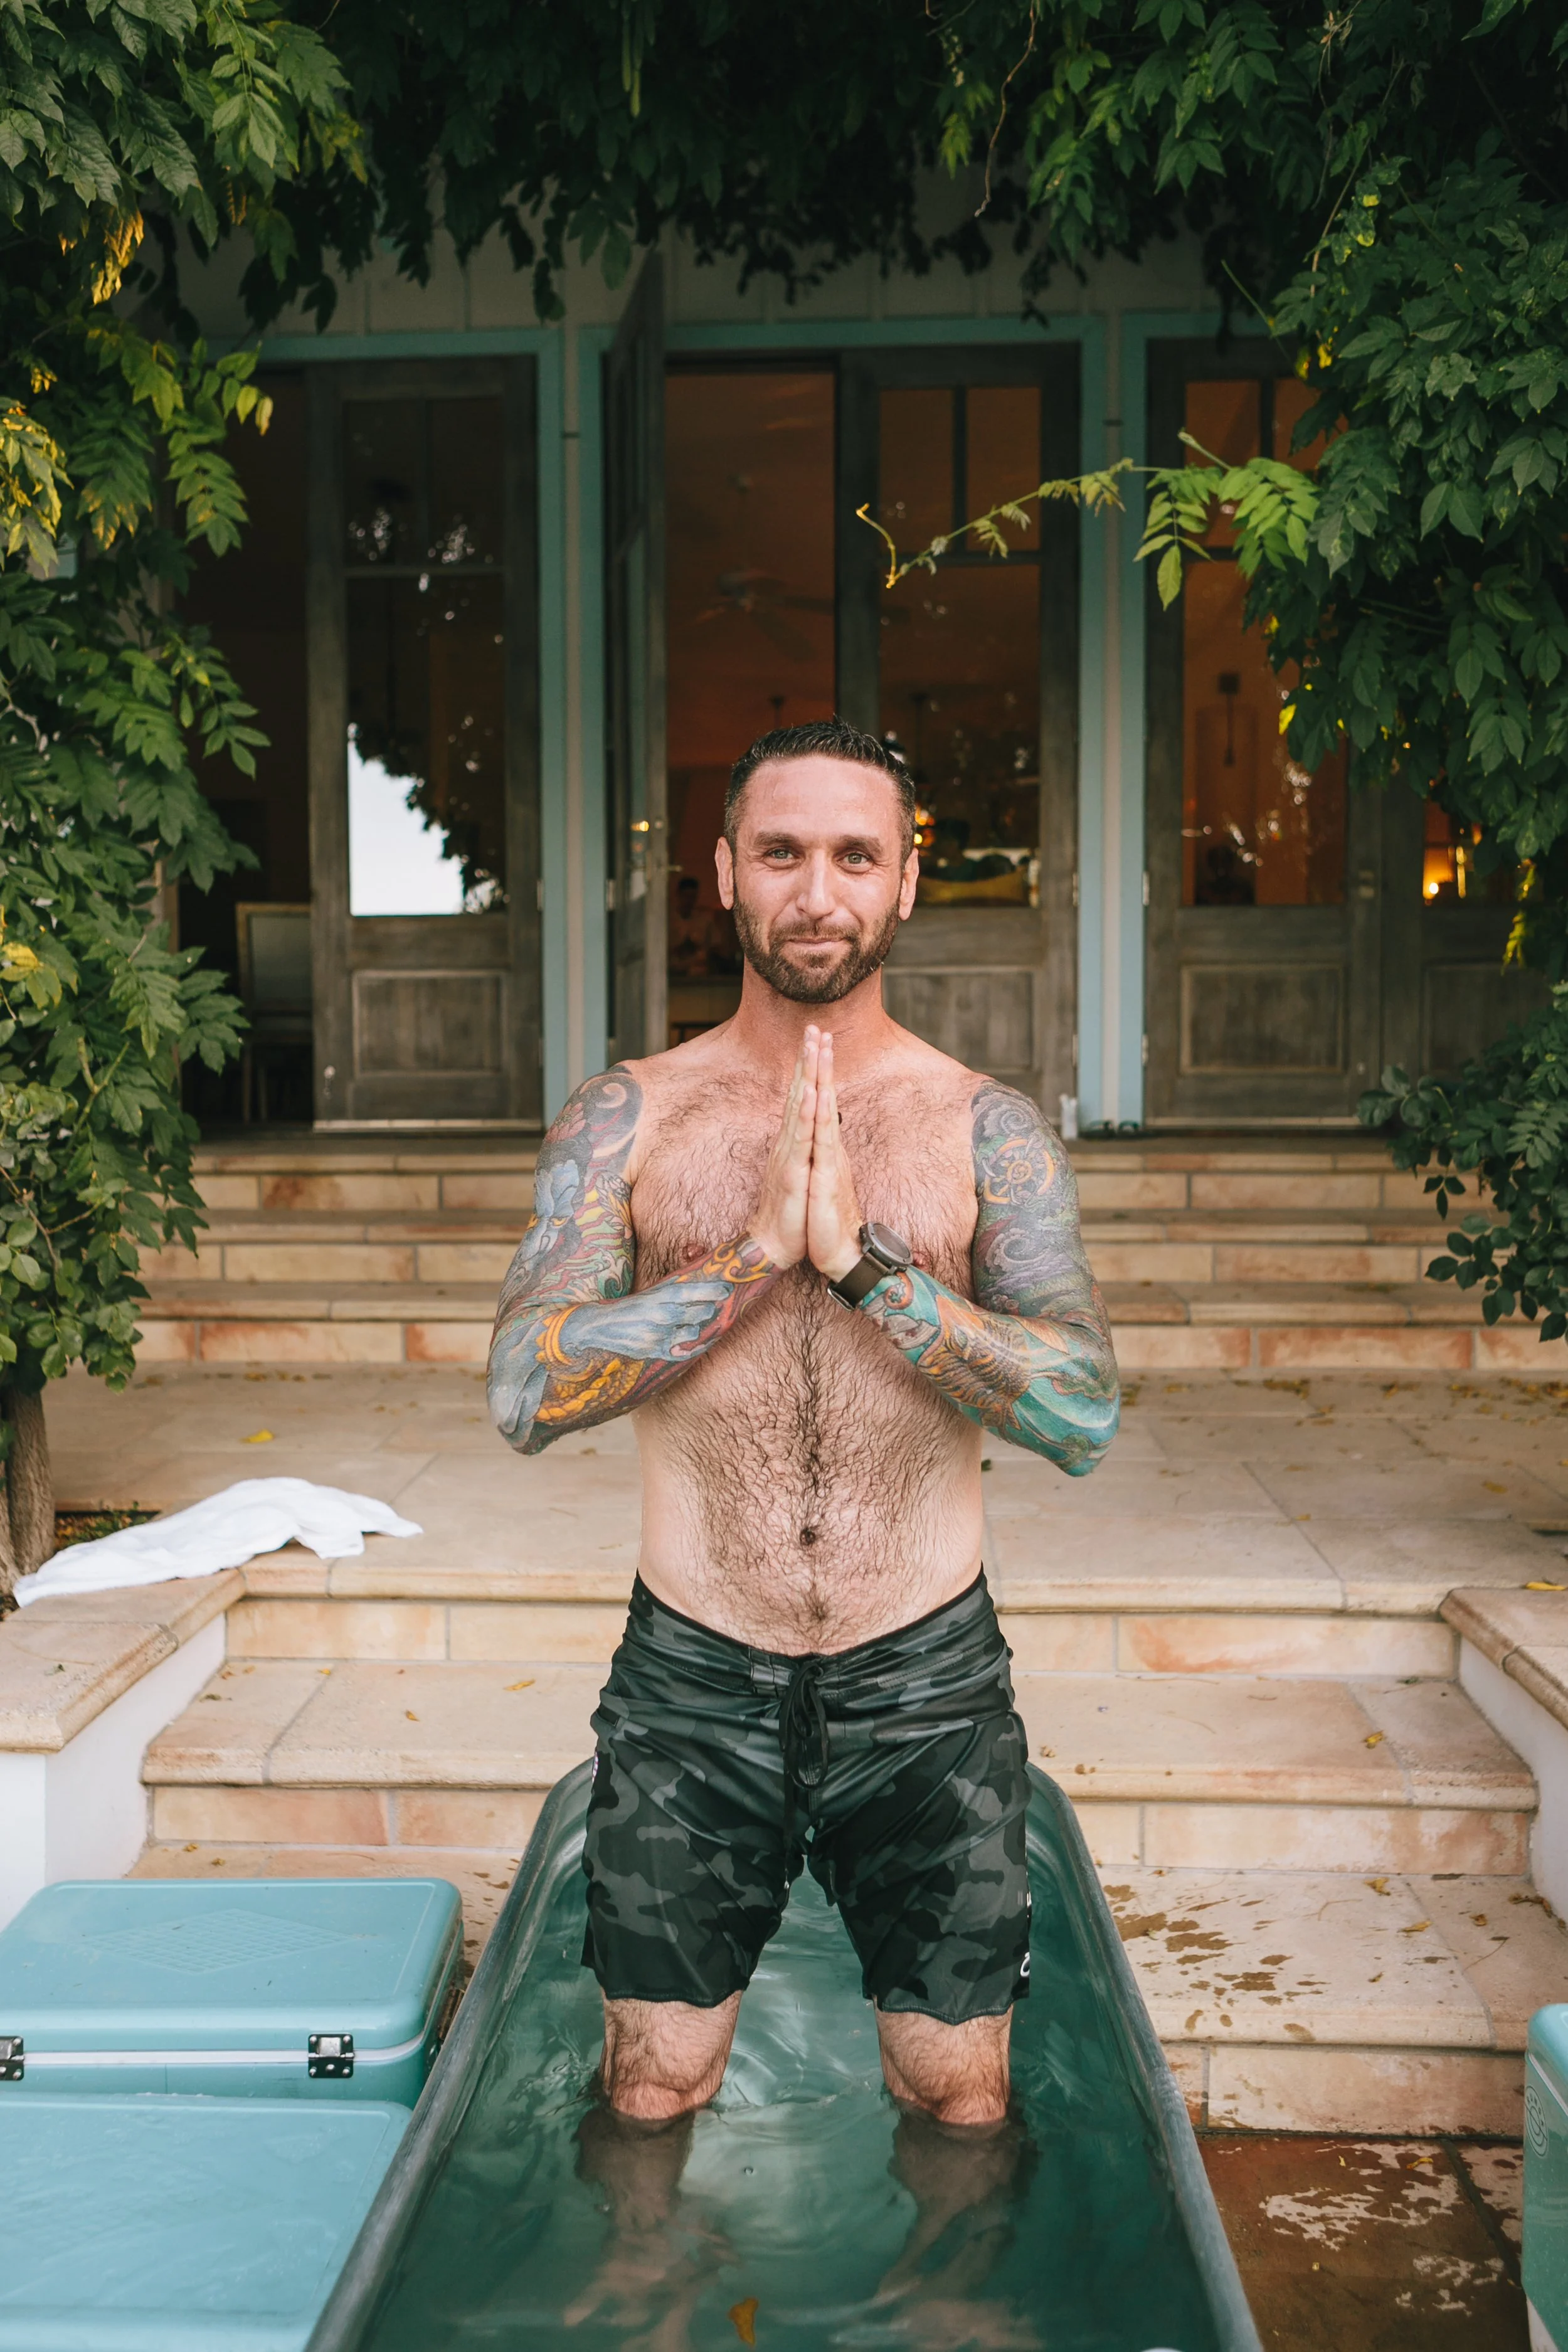
So let’s dive right in to ensure a successful experience!

Me diving right in!
Step 1: You Can Always Make It Colder
Wim Hof, the leading popularizer of the cold immersion trend, has made a name for himself by climbing snow-capped mountains in his underwear and performing on keynote stages fully submerged in ice. This man is a lifelong yogi who has spent decades strengthening his nervous and immune system to do what he does. Wim was not built in a day.
For most of us, the benefits of cold immersion begin at any temperature that makes us uncomfortable, and yet still empowers us to make the practice part of our regular routine. That means you also don’t want it so cold that you’ll struggle with consistency. You can always make it colder.
Step 2: 30-Days of Cold Showers
Prior to investing in cold immersion equipment or overthinking the practice, I recommend starting with 30 days of cold showers. This will help you understand the basic physiological responses you’ll experience in an ice bath and how to manage them. Based on my own anecdotal experience in coaching newbies into cold immersion, I recommend progressing through your 30 days as follows:
Phase 1 (Day 1-10)
Start or end each day with 60-seconds of cold showering. No days off. This can be accomplished in many different ways, but my two favorites are:
1-minute straight: As a standalone cold shower, or at the start or end of your normal shower. Nose breath calmly and hum throughout the minute to calm your nervous system.
“Tabata” cold showering: Step into the cold water for 20-seconds and step out of it for 10-seconds at least 3 times. Depending on your shower, you may also be able to change the temperature from cold to warm for these intervals. I use Interval Timer App for this.
Phase 2 (Day 11-20)
Start each day with a 2.5 to 3-minute cold shower. Day 14 and 18 off. You should use the same techniques as Phase 1, or mix it up by changing your “Tabata cold showering” to 30-seconds full-cold followed by 30-seconds slightly-warm for 5+ minutes.
Phase 3 (Day 21-30)
Start each day with a 5-minute cold shower. Day 22 and 26 off. By now, this should be a breeze.
Step 3: Buying Your First Tank
Your first tank should be modest. You could even start with your home bathtub so long as it gets deep enough (more on this later). For most, a kiddie pool from Amazon is a great option as it’s highly affordable, multi-purpose, and can easily be stored away when you’re not using it. However, if you’re in this for the social media fanfare and you know you’re going to be using it a lot, the cattle trough is your best option.
Here are my starter recommendations:
There are other options, such as buying a large freezer like this one, setting it at 38 degrees and climbing in and out of it each morning. This is often the most practical solution for people with a few draw backs, such as replacing the water, and potential danger for children. If you opt for the freezer, consider child-proofing it by placing something heavy, such as a 45lb weight plate, on the top of it when not in use. And always unplug it prior to climbing in and out, even if you opt to use an outlet timer to control it’s power.
Guiding a guest through a cold plunge at RUNGA. Save $150 on PLUNGE with code RUNGA.
I bought a PLUNGE a few years ago, which has made cold immersion an everyday possibility with minimal effort. If you cold plunge a lot, I could not recommend it more. As of 2023, we now use PLUNGES exclusively at RUNGA events.
Step 4: Using Clean Water
When I began filtering my hose water, my tank water started lasting longer. I then found it lasted even longer when I added 1/4 to 1/2 of a cup of food-grade hydrogen peroxide to the water. If you get a less potent solution, just use a bit more. Covering the tank at night is another must to ensure you aren’t needing to refill more often than you need to.
Here are the exact products I have used:
Note: If you have a PLUNGE, the water will remain clean with basic maintenance using their kit and only the occasional replacement of water.
Step 5: Filling The Tub
I recommend filling your tank such that you can have your entire body submerged to your ears. Many have the inclination to just expose the lower body, or they don’t get in enough for the neck to be fully exposed. Exposing your neck and therefore your thyroid, is hugely important in order to regulate your body temperature (and will actually make it easier for you to stay in).
To get the maximum benefits, I go for the total-body dip at the very start. The total-body dip exposes the whole body, thyroid and back of the neck to the cold, which elicits a more dramatic maximal hormonal response. After the initial dip, the depth of the pool will allow you to dip your face in periodically throughout the plunge, which continues to send a dramatic message into the nervous system.
When filling your tank and keeping in mind the above, you want to put the least amount of water possible so that the ice has less water to cool down. Be mindful of how much displacement will occur when you get in, so that you don’t lose half of your ice in that initial plunge.
For starters, I recommend placing 60lbs of ice per 70 gallons of water when using a 100 gallon tank. This should bring the temperature to about 50 degrees and allow for a tolerable yet challenging jumpstart into the realm of cold immersion.

Step 6: How Long To Stay In
The minimum time of a plunge, especially when considering all the effort you’ve now put in, is always 3-minutes. This is why we build up to a 5-minute cold shower in the 30 days prior to investing in a tank. If you’re going to start buying $50-$100 worth of ice every week, make sure you’ve matured beyond the “in-and-out in 30-seconds phase”.
3-minutes holds true to any temperature above 38 degrees Fahrenheit and is near the time most newcomers will begin to shiver in cold water. It’s also long enough to begin a cascade of the most desirable cold-immersion benefits, such as improved blood sugar regulation and fat burning. That being said, if you are at 45-50-degrees or just over (based on my 70/60 protocol), the body can withstand far longer than 3-minutes. In fact, the goal after 4-6 weeks would be 10+ minutes at this protocol, which should then be reduced by 2-3 minutes with every 20lbs of ice added to your constant volume of 70 gallons of water.
The general protocol targets are as follows:
60lbs of ice: 10-minutes.
80lbs of ice: 6-minutes.
100-120lbs of ice: 3-minutes.
Step 7: Preparing Your Mind & Body
Prior to getting into the ice bath, you want to calm the nervous system. Realize that much of our pain is simply an incarnation of our held tension or fears: like our anticipation of pain at the dentist. As humans, we get into our heads about how bad something will or will not hurt, or hold tension or beliefs about ourselves which manifest and create exactly those outcomes.
Prior to cold immersion, you want to engage the parasympathetic, “rest-and-digest” branch of the nervous system using deep full inhales and exhales. Humming can also help activate the parasympathetic system and boost nitric oxide production, which makes your cells more receptive to oxygen. Last, you always want to enter the tank holding your breath out on an exhale, the phase of breath that nearly defines relaxed or suspended consciousness (more on this later).
Here are the breathing protocols I use most:
Step 1: 2-3 minutes of deep nostril breathing to reset my focus. Simply inhale and exhale, ensuring each exhale is slightly longer than the inhale. I almost always perform relaxation exercises such as these to release tension and calibrate focus during this step.
Step 2: 2-3 Rounds of 10 breath cycles of a nostril inhale following by a prolonged exhale hum. On the 10th and final exhale of each round, hold your air for as long as you reasonable can without passing out. Most are ready for the cold at this stage. However, you may also incorporate the following to really zen-yourself out and breakthrough any mental barriers.
Step 3: 30 breath cycles of inhales and exhales, either while lying on my back using knee-tucks to really force the full exhales, or performing a wood-chopping motion with clenched fists, inhaling up and exhaling down as demonstrated at the 1:50 mark near the end of this video!
Step 8: Entering the Cold
Always enter on an exhale and get in calmly, yet steadily. The process should take less than 3-4 seconds. Once you’re in, submerge your entire body - and ideally your head. This will activate your nervous system and provide the greatest possible signal to your body to begin to regulate temperature quickly. The less of your body that’s submerged the longer this process will take and potentially the more painful the experience will be.
Another important note is the “Why?” behind stepping in on an exhale. The reason is that your first inhalation in the cold will dictate the rest of your experience. If you get in holding tension, as we do on an inhale, your first breath will always always be a stressed, gasping mouth-breath. Which, often leads to a very negative experience. Whereas if you control your breath, enter on an exhalation and ensure your first inhalation in the cold is through the nose and is relaxed, you are far more likely to have an enjoyable and rather painless experience.
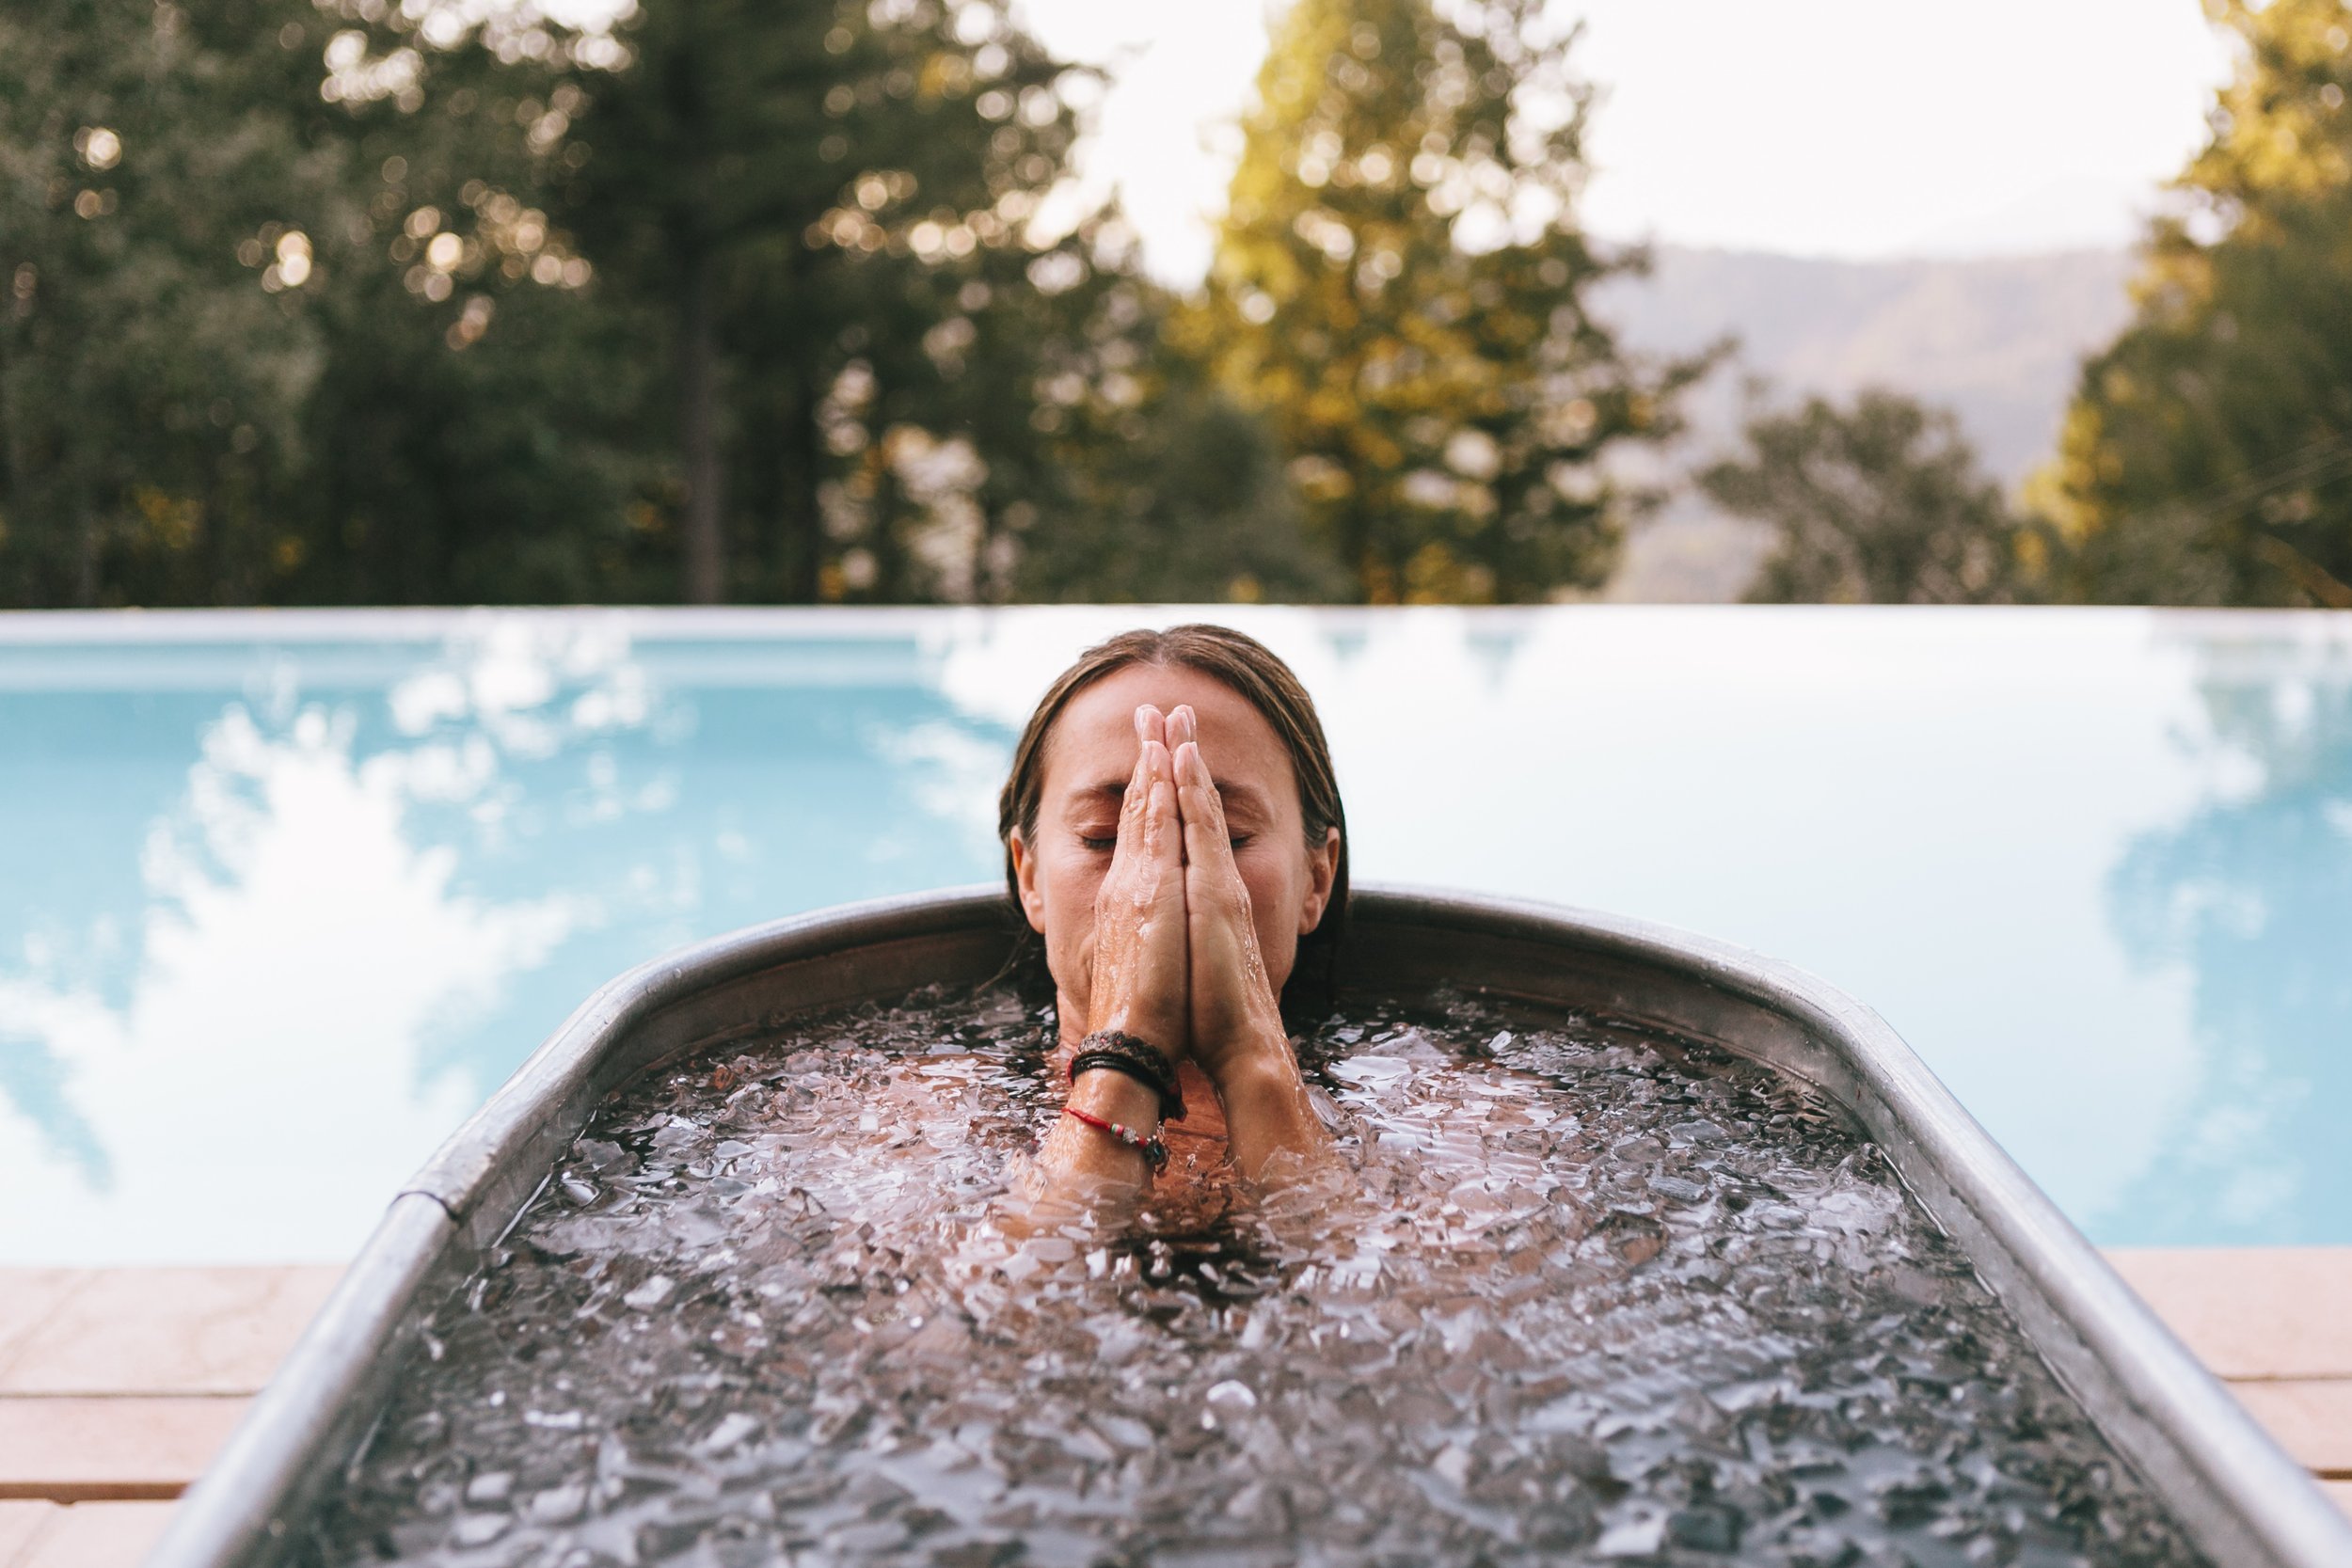
Photo by Tammy Horton Photography at RUNGA.
And remember, the first minute is the most painful, so control your breathing and your thoughts. Nirvana is only 3-minutes away!
If you found this article helpful, let me know by leaving a comment below or on my Instagram!